Building a Virtualized TrueNAS Server for PS2 SMB
In this project, I built a Virtualized TrueNAS CORE Storage Server running on an Arch Linux host. The ultimate goal was to simulate a realistic enterprise RAID-Z environment and use it to serve PS2 game ISOs directly to physical console hardware using Open PS2 Loader (OPL).
Here is the detailed step-by-step documentation of how I prepared the host, overcame virtualization hurdles, and configured the ZFS arrays.
TrueNAS 13 and ZFS are extremely RAM-hungry. Initially, a 1GB allocation (chosen because my laptop only has 3.6GB of usable RAM) caused the middleware daemon to crash, preventing the web dashboard from loading. Always allocate a minimum of 8GB for a stable experience.
Step 1: Preparing the Arch Linux Host
Before touching the server, the hypervisor needed to be ready. I installed VirtualBox and its host modules using pacman. However, Arch Linux doesn’t automatically drop you into new user groups or load fresh kernel modules without a reboot.
To get things working instantly, I manually added my user to the vboxusers group and probed the main VirtualBox kernel module (vboxdrv).
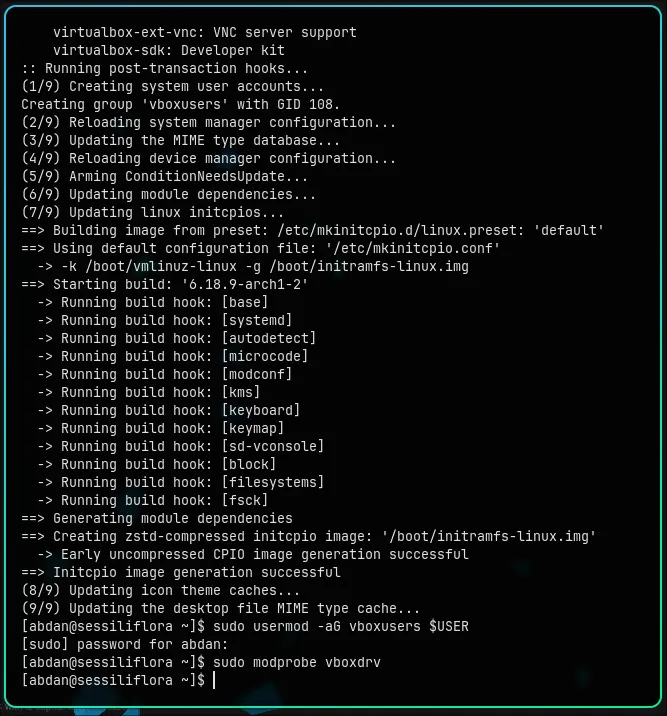 Loading the base VirtualBox kernel modules manually in Arch Linux.
Because I planned to use advanced networking features (like Host-Only and Bridged adapters) to connect to the TrueNAS VM, I also had to manually probe the vboxnetflt and vboxnetadp modules.
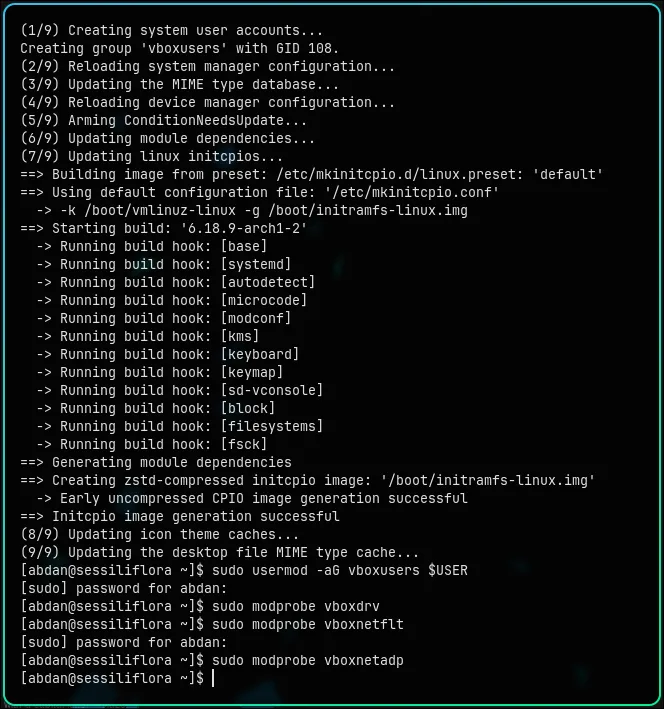 Activating the network filter and adapter modules for VirtualBox.
Step 2: Virtual Machine Topology
To simulate a real-world NAS, I couldn’t just create one massive virtual hard drive. I built a multi-disk topology to support ZFS redundancy. I created four virtual hard disks:
- Disk 0 (
ada0): 10 GB for the TrueNAS OS installation. - Disk 1, 2, & 3 (
ada1, ada2, ada3): 10 GB each, simulating 3 physical drives for our data pool.
Step 3: Installing TrueNAS CORE
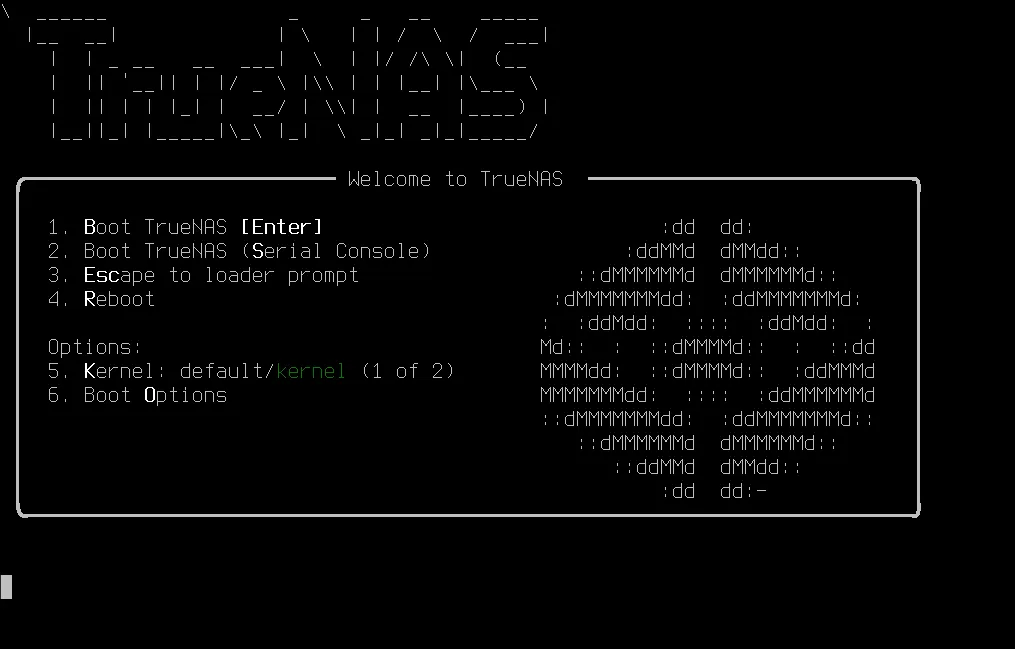
With the TrueNAS 13.0 ISO mounted to the virtual optical drive, I booted up the Virtual Machine. The familiar FreeBSD-based bootloader greeted me.
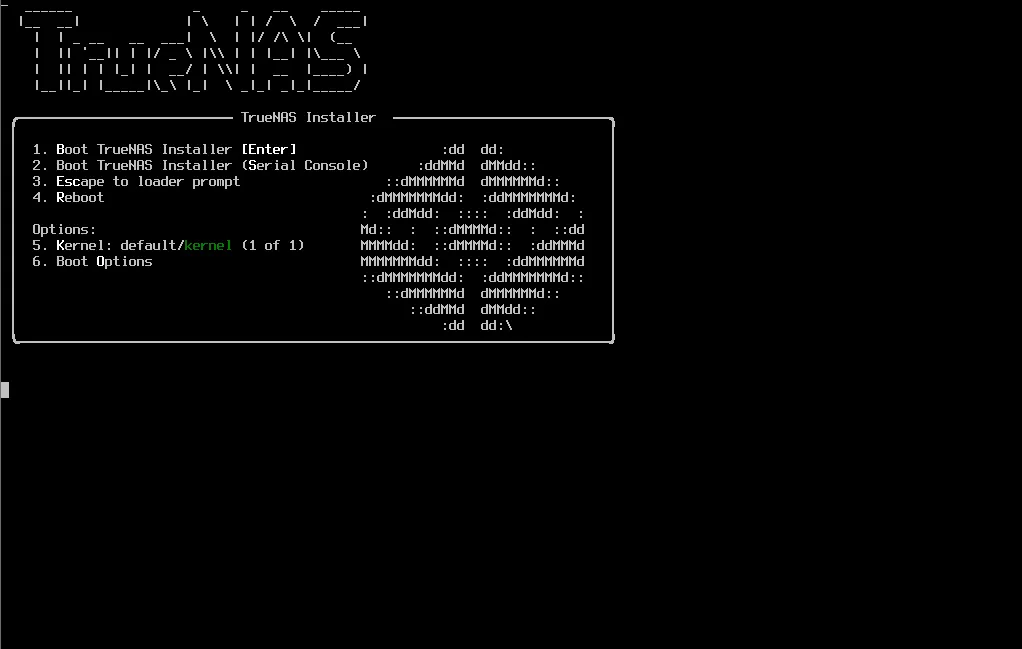 The TrueNAS installer boot menu.
 Running the installer alongside the VirtualBox manager.
During the text-based setup, the system asked where to install the base operating system. I selected the first virtual disk (ada0), leaving the other three untouched for the ZFS pool we would build later.
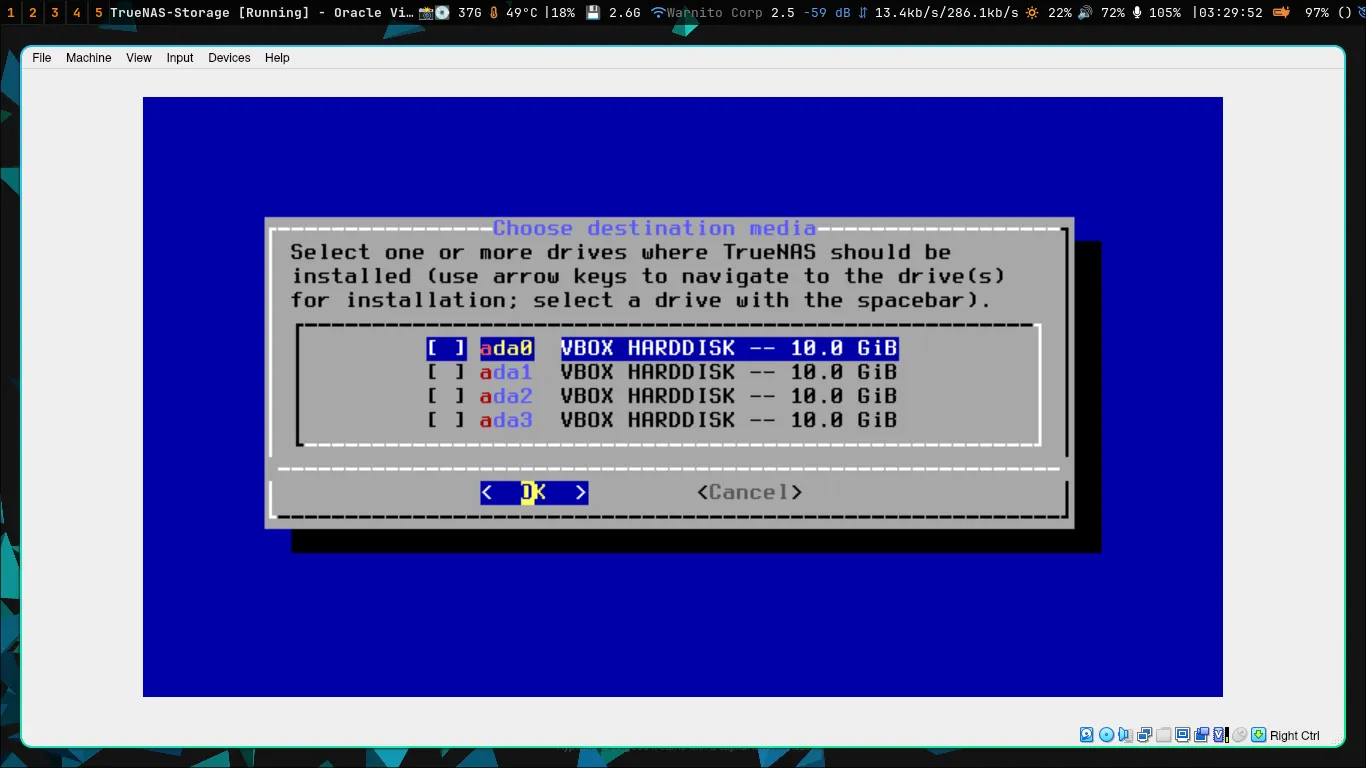 Selecting ada0 (10 GiB) for the base OS.
 Writing the base operating system to the virtual disk.
Step 4: Troubleshooting the Initial Boot
After the installation finished and the VM rebooted, I ran into a wall failing to assign an IP for the Web UI.*
To diagnose this from my Arch host, I used curl to probe the server’s Host-Only IP. I discovered that Nginx was actually running on HTTP (Port 80) and returning a 302 Found redirect, but when I tried to access HTTPS (Port 443), the connection was actively refused. This is due to SSL certificate error
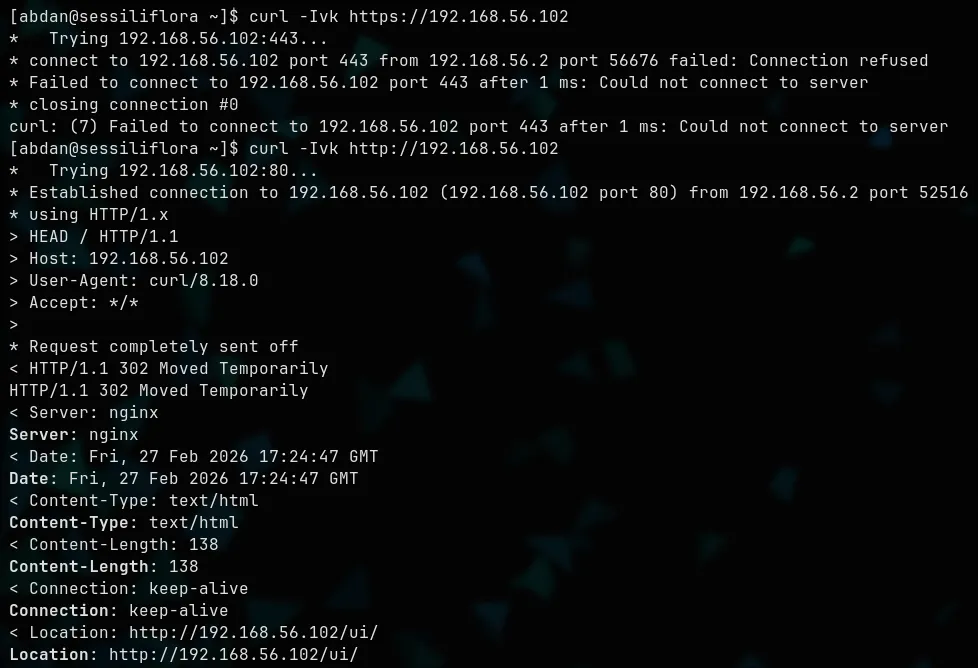 CLI diagnostics confirming that Port 443 (HTTPS) was completely dead.
The Culprit: My VirtualBox Base Memory was set to 1024 MB (1 GB). TrueNAS 13 and its ZFS file system are incredibly memory-hungry. The OS booted, but the Python-based middleware that generates the SSL certificates and runs the dashboard immediately crashed due to Out-Of-Memory (OOM).
Step 5: Successful Boot
With adequate RAM, the server breathed a sigh of relief.
And most importantly, the console setup screen finally generated the Web User Interface IP addresses correctly without any middleware daemon errors.
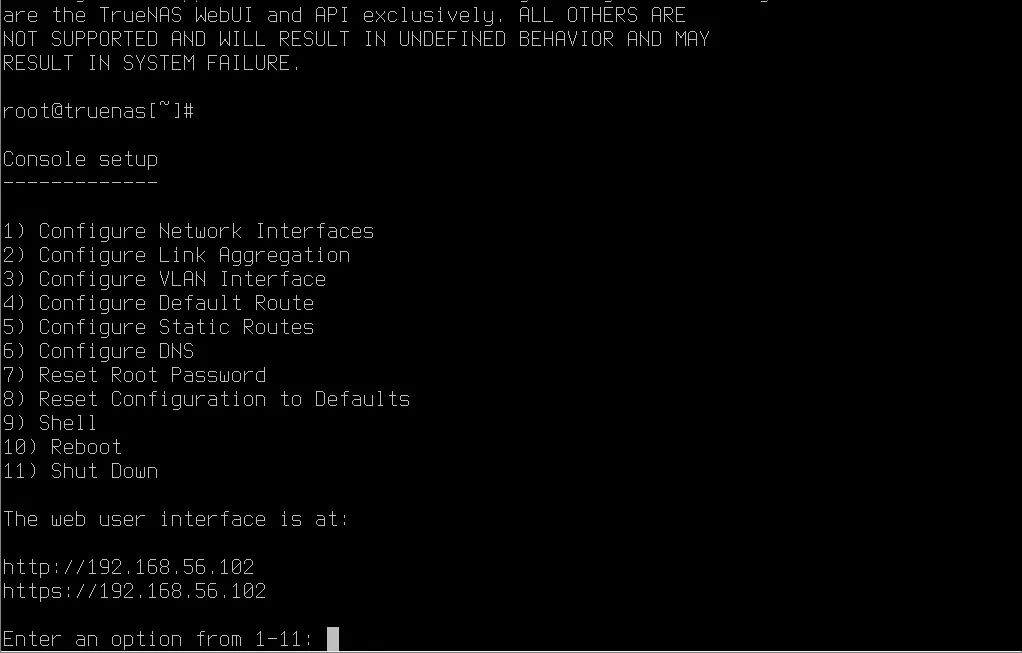 Success! The Web UI is actively listening on
 192.168.56.102.
Step 6: Enterprise ZFS Configuration
Logging into the TrueNAS web interface at 192.168.56.102, it was time to build the storage array. I navigated to Storage > Pools and selected my three 10GB virtual drives (ada1, ada2, ada3).
I configured them in a RAID-Z array (equivalent to RAID 5), providing single-disk fault tolerance.
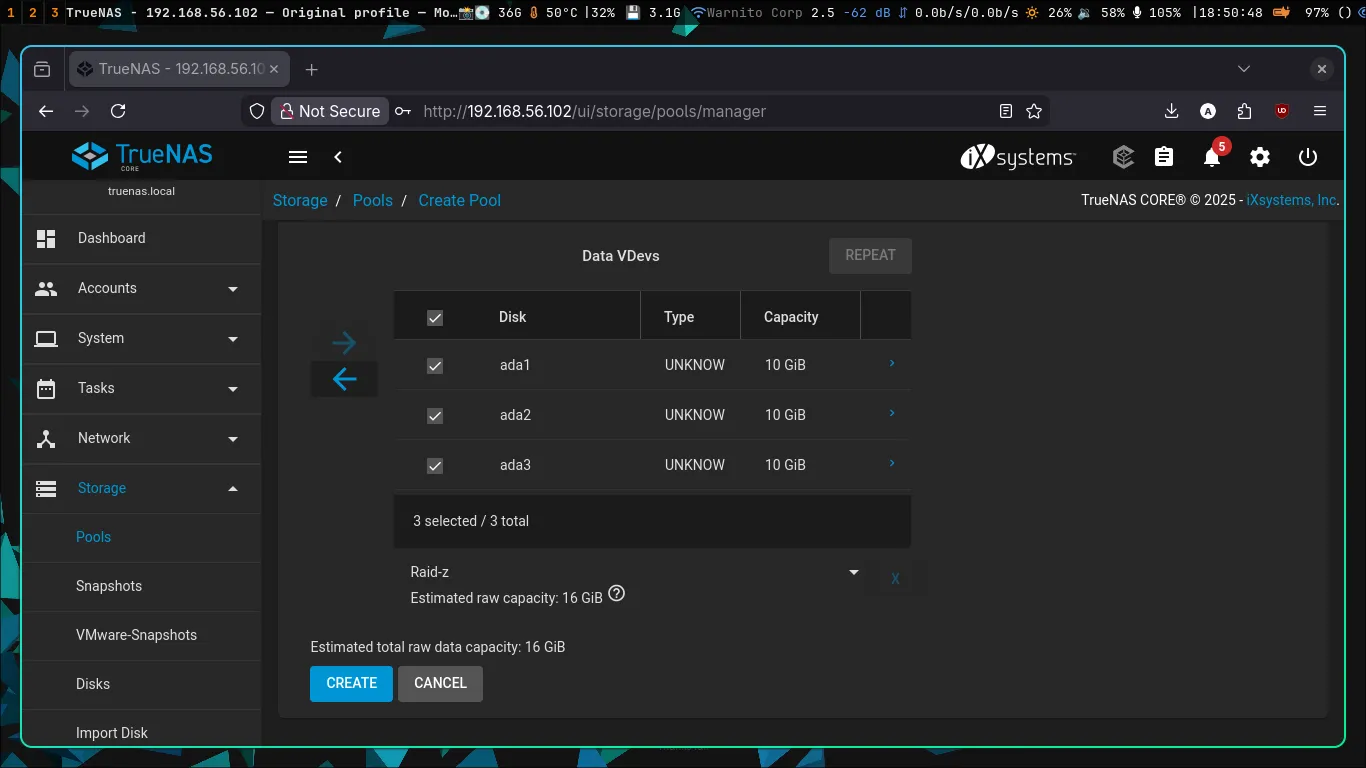 Combining three 10GB drives into a single RAID-Z VDev.
Once built, my pool (named “Toshiba”) came ONLINE. Out of the 30GB raw storage, I yielded about 15.15 GiB of usable space. This proves the parity algorithms and virtual swap partitions were configured automatically by ZFS.
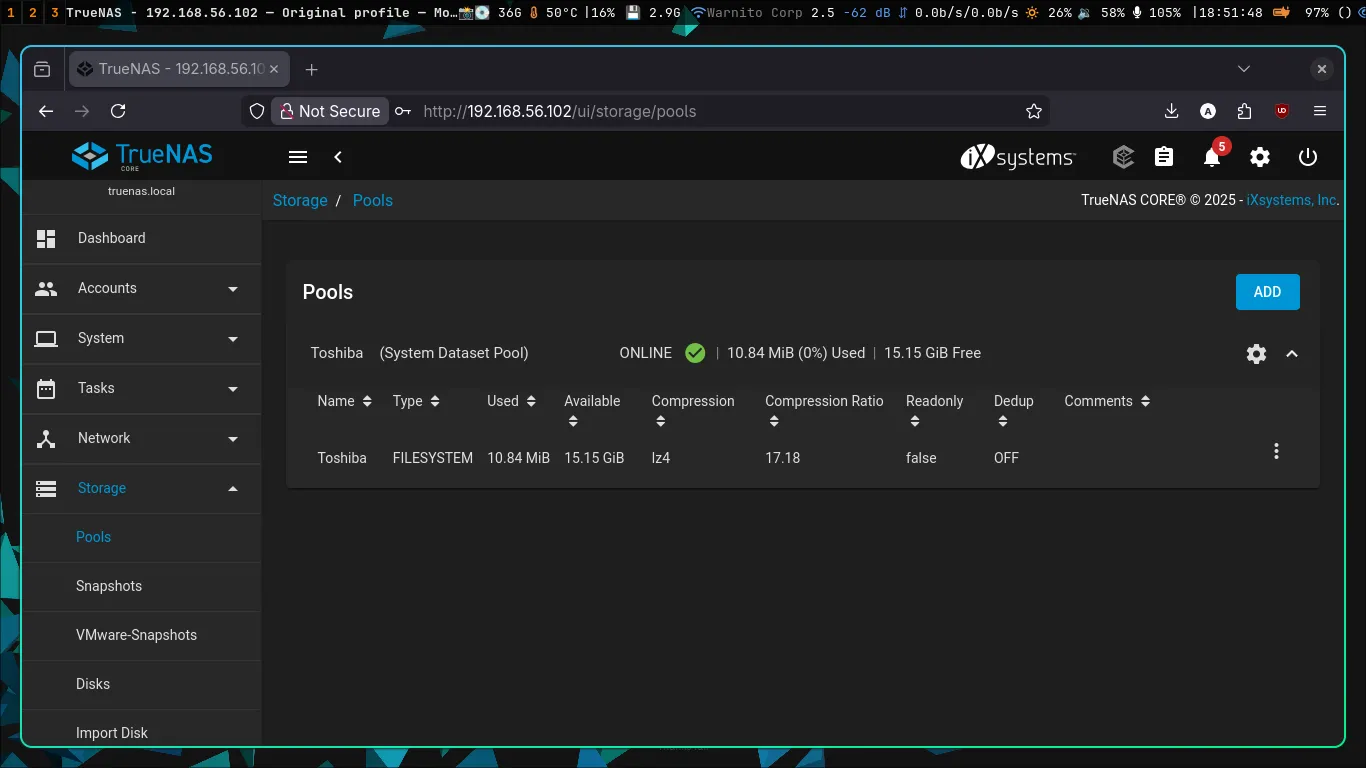 The Toshiba pool is healthy and online.
Step 7: Configuring SMB and Datasets
You should never share your root dataset. To do this properly, I created a child dataset named Company-Data or whatever it is.
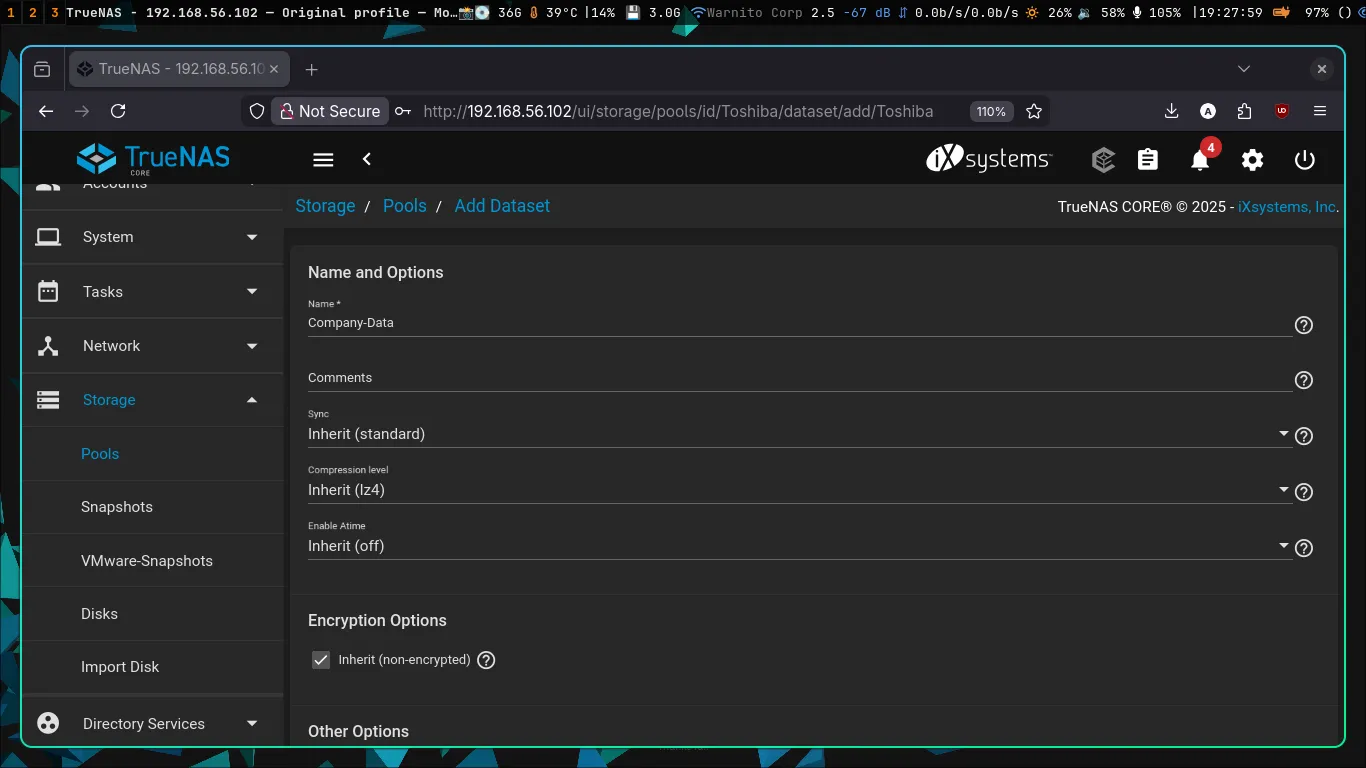 Creating the Company-Data dataset.
Next, I enabled the Windows Shares (SMB) service and pointed it to the newly created dataset path.
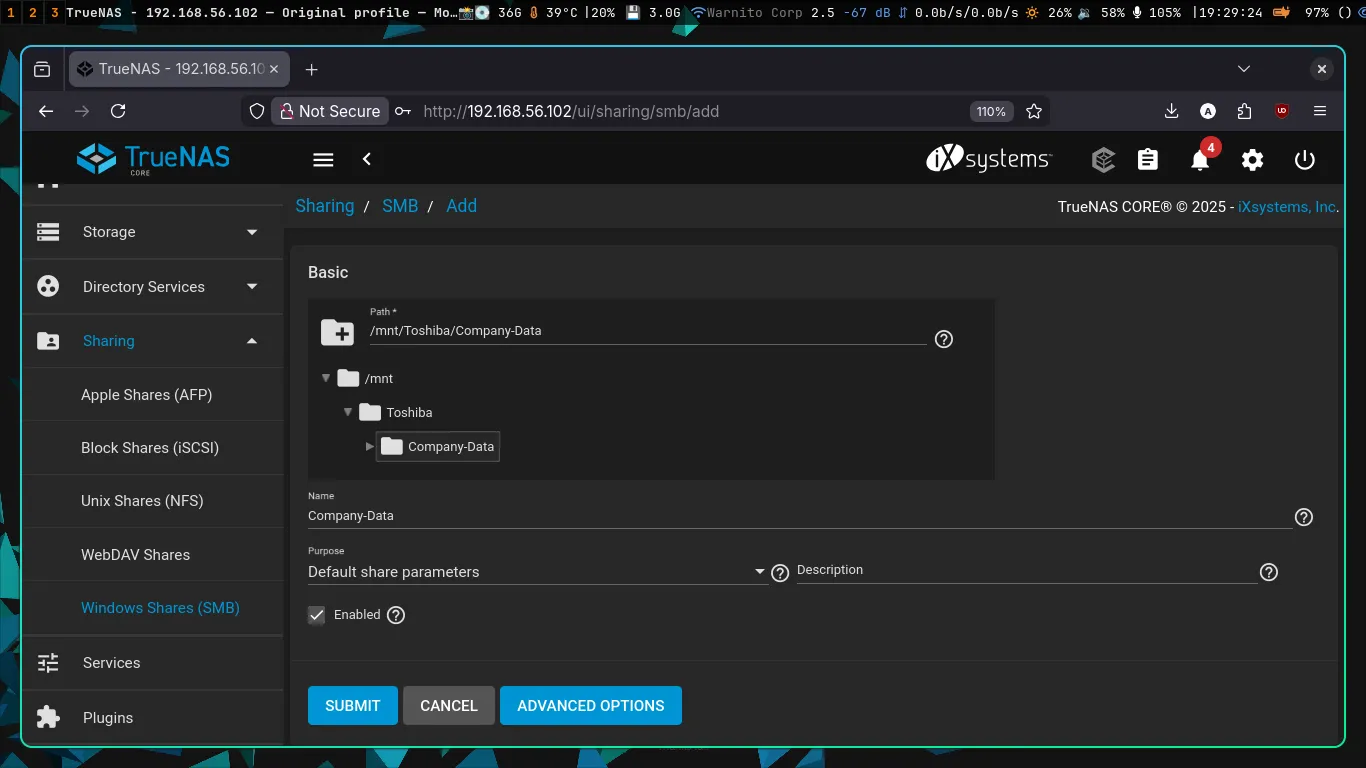 Binding the SMB service to
 /mnt/Toshiba/Company-Data.
Step 8: Add user
Excited to test the connection, I jumped back into my Arch terminal and firstly tried to list the directory using smbclient with the default root user (forgot to create user).
Blocked at the gate.
TrueNAS explicitly forbids the root user from executing SMB file transfers to prevent severe network-wide ransomware attacks from destroying the server.
To bypass this safely, I went into Accounts > Users and created a dedicated, non-root user account named abdansb. I then updated the Dataset’s ACL permissions to give this user full ownership of the folder.
Step 9: Storing the PS2 Game
With the permissions fixed, I reconnected via smbclient using the new user credentials.
I used the terminal to create a ps2iso directory for Open PS2 Loader (OPL). 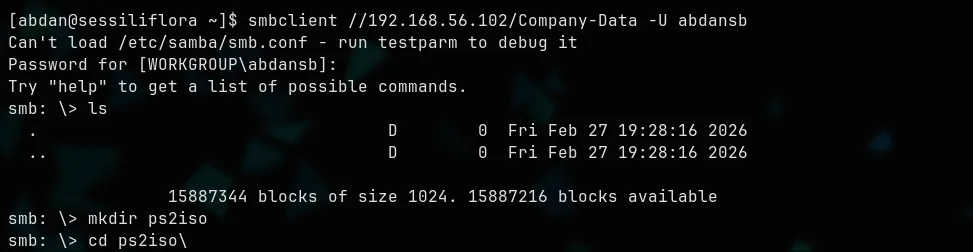 Using smbclient to create directories directly on the ZFS server.
Finally, the moment of truth. I used the put command to upload a massive PS2 game ISO (Metal Slug Anthology) directly from my Arch Linux laptop into the TrueNAS virtualized storage array. The transfer was flawless. 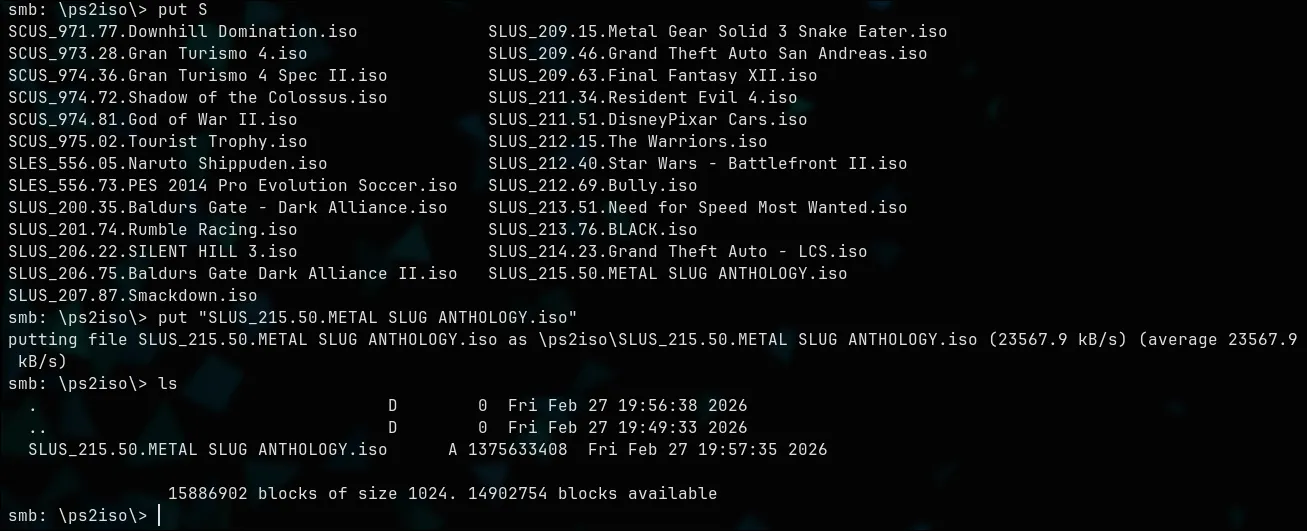 Successfully writing the 1.3GB game ISO to the RAID-Z array at ~23 MB/s.
Step 9: Configuring PS2 SMB Connection
To be continued … .